

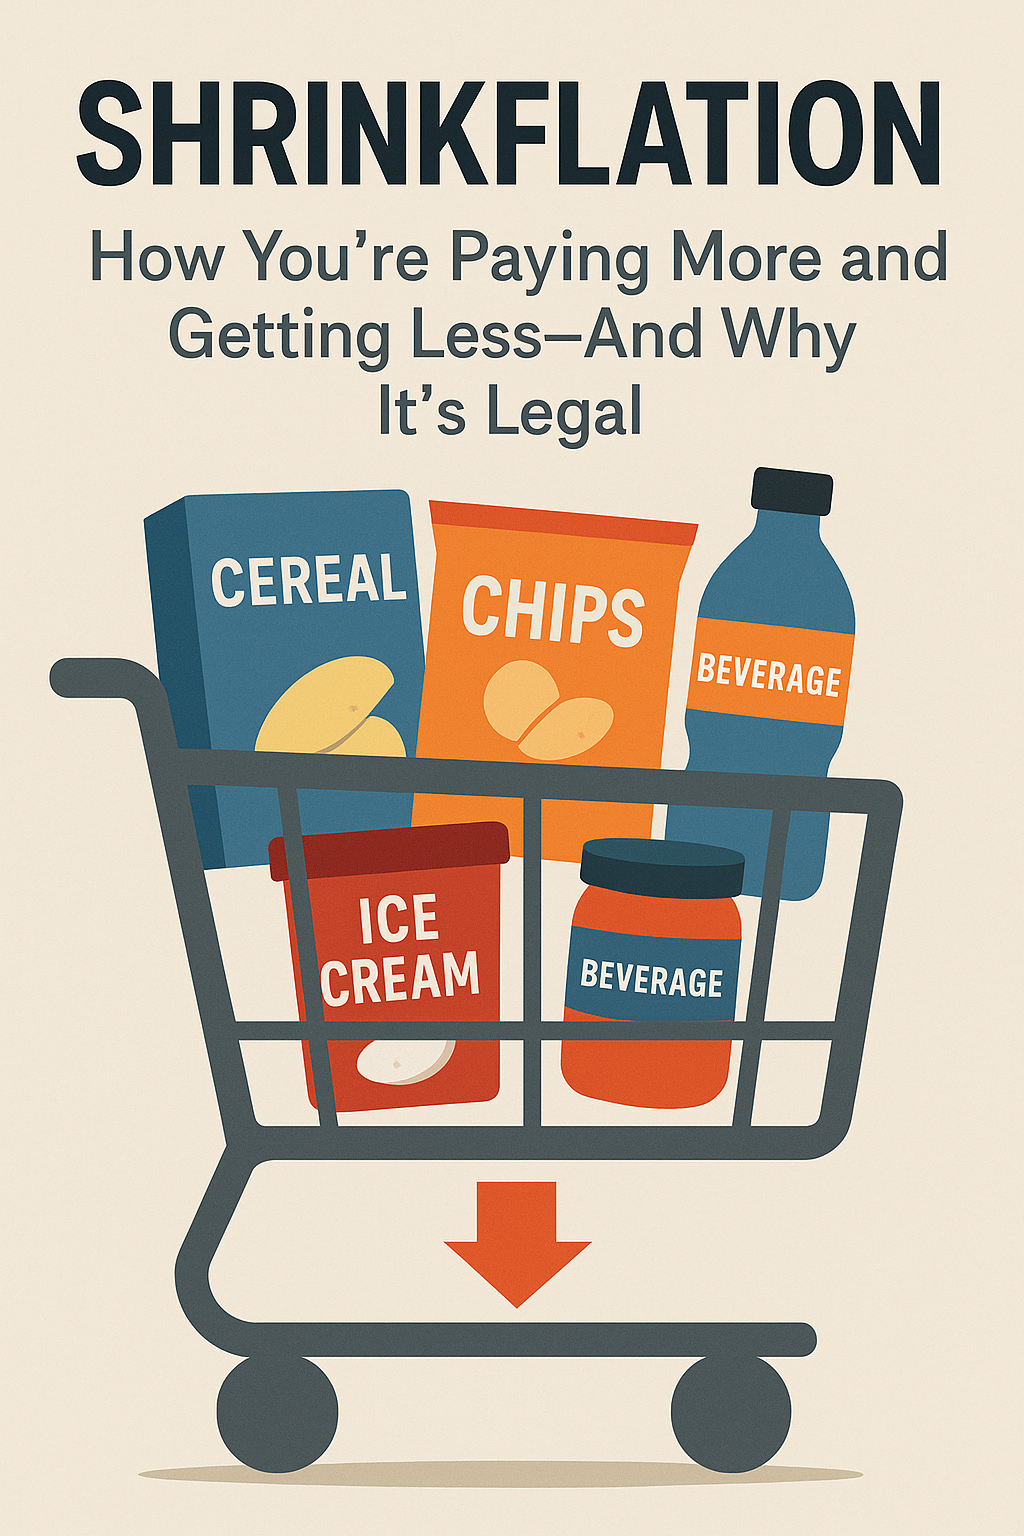
Open a bag of chips, unbox a frozen lasagna, or unwrap your favorite ice cream bar today, and you might…
Food and Beverage Product Launch Checklist
You’ve built the brand. You’ve raised the capital. Now it’s time to bring your product to life in the U.S. market. But how? This guide walks you through every essential step to move from concept to store shelf.
1. Form a Legal Entity and Get Your Tax ID (EIN)
Before doing anything else, you need to set up a legal structure for your company. Most food and beverage entrepreneurs choose between:
- LLC (Limited Liability Company): Provides liability protection with flexible tax treatment.
- C-Corp: Preferred if you’re raising venture capital or planning for institutional investors.
- S-Corp: Offers pass-through taxation but has restrictions on ownership structure.
Once formed, apply for your Employer Identification Number (EIN) from the IRS. This number identifies your business for federal tax purposes. You’ll need it to open a business bank account, hire employees, and file taxes.
2. Open a U.S. Business Bank Account
Having a separate business account helps keep personal and business finances distinct, which is essential for:
- Clean bookkeeping and tax filing
- Receiving payments from distributors, brokers, or retailers
- Paying for production, warehousing, and marketing
Choose a bank that offers merchant services and understands international transactions if you’re not based in the U.S.
3. Purchase UPC Codes from GS1 US
Every SKU (product variant) you sell needs a unique UPC barcode. The only legitimate source is GS1 US. GS1 assigns barcodes that are globally recognized and tied to your business name.
Why it matters:
- Retailers reject third-party or reused barcodes
- You maintain product traceability and authenticity
- You can expand into larger retailers without having to re-label your products
Do this early to ensure your labels and packaging are designed with the correct barcodes.
4. Create Physical Product Samples or Prototypes
Distributors and buyers won’t make a decision until they taste your product. If you haven’t completed your first production run:
- Produce a test batch at home or with a pilot manufacturer
- Create mockups of your final packaging (even 3D-printed versions or label prototypes)
- Bring printed sell sheets and spec sheets to complete the picture
Be honest about your timeline and production capabilities but show as close to a finished product as possible.
5. Develop a Detailed Specification Sheet
This technical sheet provides essential logistics and operational information. Include:
- Product name and flavor
- Ingredients and nutritional facts (formatted per FDA guidelines)
- Net weight/volume
- Case pack (units per case)
- Case dimensions and weight
- Pallet configuration (TI/HI)
- Shelf life and storage requirements
- Country of origin
- Manufacturing location
- Certifications (Organic, Non-GMO, Kosher, etc.)
- Allergen declarations
- UPC and GTIN numbers
Distributors and chains use this document to determine if your product fits within their systems.
6. Create a Targeted Sell Sheet
This one-page marketing tool is crucial for pitching. You should create two versions:
- Distributor Sell Sheet
- Wholesale pricing
- Intro offers
- Freight terms (FOB vs. Delivered)
- Reorder velocity and expected margin
- Packaging and logistics highlights
- Retailer Sell Sheet
- Consumer value proposition
- Trending ingredients or functional benefits
- Support through POS, demos, social media
- Brand mission and origin story
Include professional product photography and contact information.
7. Craft a Professional Sales Deck
Your sales deck should expand on the sell sheet and walk prospects through your brand’s full opportunity. Include:
- The problem you solve and market opportunity
- Brand story and team credentials
- Product overview and USPs (unique selling points)
- Competitive landscape and category analysis
- Go-to-market strategy (channels, timing, marketing plan)
- Operations and manufacturing capabilities
- Pricing and promotional support
- Ask: What you want from the buyer (purchase, test, meeting)
Keep it clear, concise, and designed with compelling visuals.
8. Prepare a Pricing Strategy and Price List
Pricing must cover your costs and be competitive while leaving enough margin for everyone in the supply chain. Your price list should show:
- Distributor pricing
- Retailer direct pricing
- MSRP
- Introductory discounts
- Free fill expectations
- FOB vs. delivered pricing options
Include expected margin at each tier so everyone understands their cut.
9. Design Merchandising & POS Materials
When you’re on the shelf, you need to STAND OUT. Your POS strategy should include:
- Cold box stickers for refrigerator doors
- Channel strips (shelf blades)
- Shelf talkers (flag or wobbler style)
- Case stacker signs and header cards
- Branded danglers
- Tablecloths and signage for demos
- Sample cups and disposable spoons if applicable
Start with low quantities and scale as needed.
10. Get Product Liability Insurance
Distributors and retailers will require you to carry insurance before agreeing to work with you. Typical minimum coverage:
- $1 million per occurrence
- $2 million aggregate
- Must name retailers or distributors as “Additional Insured”
A food liability policy can protect you from lawsuits related to recalls, contamination, or allergens.
11. Prepare for Certifications
Certifications are increasingly important for retail acceptance and consumer trust. If applicable, secure:
- USDA Organic
- Non-GMO Project Verified
- Kosher or Halal
- Gluten-Free
- Vegan/Plant-Based
- BPA-Free Packaging
Only use logos on your label once you are officially certified.
12. Nail Down Logistics & Fulfillment
Your distribution success depends on how reliably you can deliver product. You’ll need:
- Warehousing or 3PL partner (especially if not self-distributing)
- EDI capabilities for chain retailers
- Pallet configuration specs
- Delivery timelines and minimum order quantities (MOQs)
Ensure your supply chain is scalable before approaching national retailers.
13. Establish a Digital Footprint
Your online presence should reflect a modern, credible brand. Must-haves:
- Branded website with product info, story, contact, and press section
- Active Instagram, Facebook, and TikTok accounts with engaging content
- LinkedIn for B2B credibility
- Optional: Basic eCommerce or Amazon Storefront for early traction
Retailers and distributors will Google you. Make sure they’re impressed.
14. Hire the Right Partners
Don’t go it alone. Surround yourself with experts:
- Sales brokers for regional retail access
- Regulatory consultants or FDA attorneys
- Contract manufacturers and co-packers
- Fractional operations or finance executives
- Agencies for design, social media, PR
You need a team that can execute while you build the brand.
15. Samples Sell
Taste wins. No one buys a food or beverage product sight unseen. Have:
- Chilled samples ready for meetings (if applicable)
- Labels and branding that match what will be produced
- Small batch or prototype versions if your production is pending
- Beautiful mockups or renders to show final packaging
16. Disclose Allergens Clearly
In the U.S., the Big 9 Allergens must be clearly labeled:
- Milk
- Eggs
- Fish
- Crustacean shellfish
- Tree nuts
- Peanuts
- Wheat
- Soybeans
- Sesame (added in 2023)
If you’re also marketing in the EU, you may want to be aware of their 14 Major Allergens, which include:
- Gluten-containing cereals
- Crustaceans
- Eggs
- Fish
- Peanuts
- Soybeans
- Milk
- Nuts
- Celery
- Mustard
- Sesame seeds
- Sulphur dioxide and sulphites
- Lupin
- Molluscs
Tip: If you don’t have room for full allergen details on your label, include a line like: “For complete allergen info, visit [yourwebsite.com/allergens].”
17. Have Your Packaging Reviewed by an FDA Attorney
Before printing thousands of labels, consult with an FDA regulatory expert or food attorney. They will:
- Ensure all claims comply with federal law
- Review the nutrition panel for formatting and accuracy
- Check that ingredients are properly listed
- Advise on any health-related language
This one step can prevent massive headaches and fines down the line.
18. Protect Your Intellectual Property (IP)
Don’t lose your brand because you forgot to protect it. You should:
- Trademark your brand name, logo, and product tagline at USPTO.gov
- Use NDAs with manufacturers and contractors who access your formula or business plan
- Reserve all social media handles and your domain name
- Consider filing design patents for distinctive packaging or functional elements
Start your IP process early. It’s much harder to reclaim your brand than to protect it from the beginning.
Final Thoughts
This is more than a checklist—it’s a launch roadmap. Every step brings you closer to being shelf-ready. The brands that win are the ones who prepare thoroughly, pitch smartly, and protect what they’ve built.
Need help bringing it all together? That’s what we do.
Visit www.cascadiafoodbev.com to schedule a free consultation.